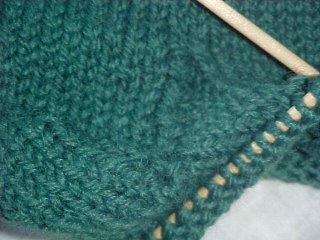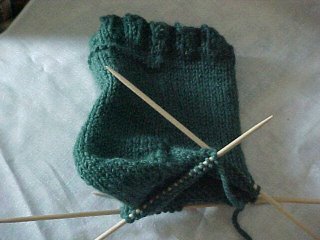
On down to the Heel.
This picture shows the first few inches
You can also see in this picture how I got confused on one round and knitted background making a ridge on the back of the sock. A learning experience to be sure.
Here is the next picture of the heel turning:
 I forgot to do a regular knit every other row so my turn is just too short. Again, however, I am learning.
What's interesting to me is how easy it was to pick up the stitches after making a heel flap. I read the directions. I had to put the thing down and walk away for about an hour then come back and just proceed on faith. Honestly, it does not seem like it's going to work until you just do it.

Here you can see where I turned the corner and headed down to the toes.
I did finish this sock and slipped it on my foot. It fits but is really too small. The heel is too narrow and the cuff too loose. Kitchener's worked great for the toes. But I have learned a great deal and my next sock is going to be much better.
I'm using the rest of the ball to make another rune bag (or perhaps a tarot bag) because to me it is just too darned heavy for a sock. This weight might work well for a slipper, however.
I have been studying store bought socks and marvel at the thinness of the yarns.


No comments:
Post a Comment